
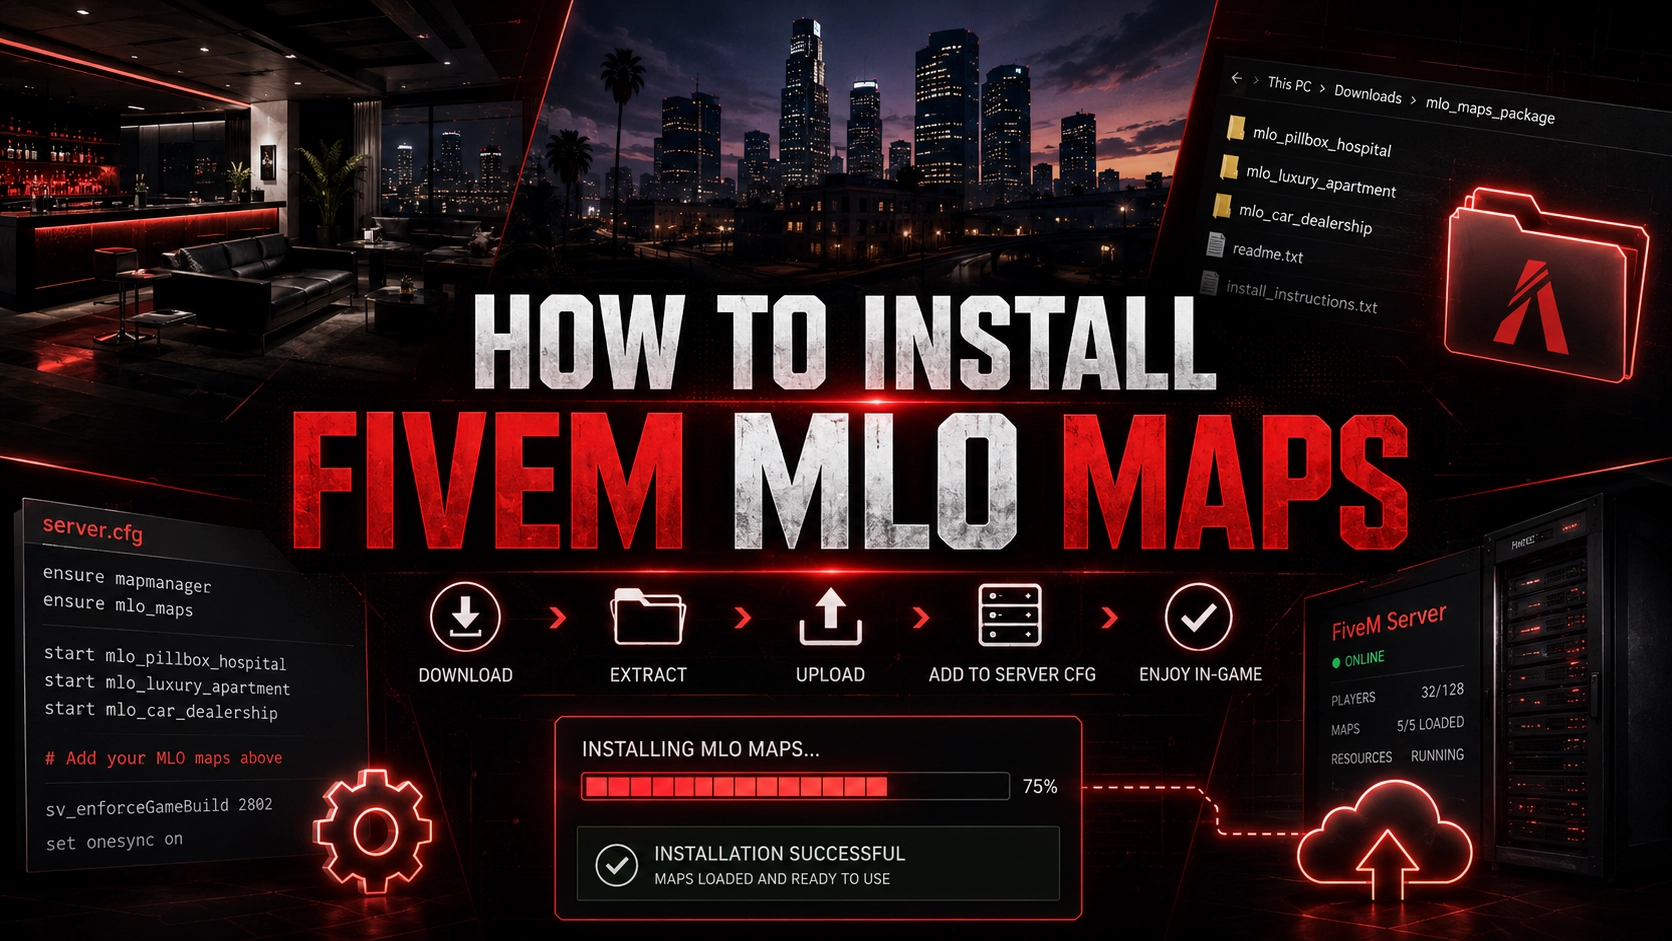
Installing a FiveM MLO map is simple once you know the steps. This guide walks you through adding a custom interior to your server safely — what is inside the resource, where it goes, how to start it, how load order and dependencies work, and how to fix the problems that come up most often. If you are not sure what an MLO is yet, read What Is an MLO in FiveM? first.
Before You Start
- Access to your server files (FTP, SFTP or a hosting panel file manager).
- A recent server artifact build — outdated artifacts are the most common cause of crashes after adding map content.
- The map package downloaded from your purchase. Every BrunX Mods map is delivered through Tebex / Cfx.re Keymaster after checkout, and escrow-protected resources must be downloaded from Keymaster with the same account that bought them.
- The readme that ships with the map. Resources differ — the readme wins over any generic guide, including this one.
What Is Inside an MLO Resource
There is no single layout every MLO uses, but most resources you download will look something like this:
- fxmanifest.lua — the manifest FiveM reads to load the resource. For map resources it usually declares this_is_a_map and points to the .ytyp / .ymap data files inside stream/.
- stream/ — the streamed game files: models (.ydr, .ydd), textures (.ytd), collisions (.ybn), the interior definition (.ytyp) and its placement (.ymap).
- client/ or server/ scripts — optional. Present when the map ships with doors, elevators, interactive props or a companion system.
- config or data files — optional colour, texture or feature toggles when the creator exposes them.
- readme.txt or a documentation link — installation notes, dependencies and known conflicts.
Some packages contain more than one resource folder (for example a map plus a separate props or IPL toggle resource). Each folder with its own fxmanifest.lua is a resource and needs its own ensure line.
Step-by-Step Installation
1. Download and extract the package
Download the archive from your Tebex / Keymaster account and extract it on your computer. Open the extracted folder until you find the resource folder itself — the one that directly contains fxmanifest.lua. That folder is what goes on the server, not the outer download folder.
2. Keep the resource folder name
Use the folder name the readme uses. Companion scripts, dependencies and support instructions refer to that name, and some resources reference it internally, so renaming it can break more than the ensure line.
3. Upload it to your resources directory
Place the resource folder inside your server's resources directory. Category folders wrapped in square brackets, such as [maps] or [brunx], are scanned recursively, so you can keep maps organised without changing anything else.
4. Add it to server.cfg
Add ensure resource_name to your server.cfg, using the exact folder name. The line only tells the server to start the resource — it does not need a path. Put it after any dependency the map relies on (see load order below).
5. Restart and check the console
Restart the server and watch the console for the resource starting without errors. Then join, drive to the map coordinates listed on the product page and confirm the interior loads. Most BrunX product pages list the location for exactly this reason.
Load Order and Dependencies
Resources start in the order server.cfg lists them, and a resource that needs another one must start after it. The fxmanifest.lua dependency field tells you what a resource expects; the readme usually repeats it. A typical order is: framework and core libraries first, shared dependencies next, then the maps and scripts that use them.
- Framework core (es_extended, qb-core, qbx_core) and libraries such as ox_lib, when your server uses them.
- Shared dependencies required by maps, for example brnx_bridge for the BrunX resources listed below.
- The MLO resources themselves.
- Companion scripts that depend on a specific map (cinema, nightclub, skating systems).
The map data itself does not care about frameworks. An MLO streams the same files on ESX, QBCore, Qbox, vRP or a standalone server. Framework requirements only appear when a script is involved — each BrunX companion script lists its own supported frameworks on its product page.
Restarting a Resource vs. Restarting the Server
For scripts, restart resource_name in the console is usually enough. For map content it is not: streamed files are cached by connected clients, and a running server does not reliably pick up new or changed .ytyp / .ymap data. After adding, updating or removing a map, do a full server restart and have players reconnect. Skipping this step is the most common reason an interior "did not install" when in fact the files were fine.
Resources That Require BRNX Bridge
A few BrunX interiors use a shared dependency called BRNX Bridge for features like synchronised elevators and framework detection: Courthouse and Offices, Vinewood Medical Center, Sandy Shores Services and The Generic Hotel. The product page says "Requires BRNX Bridge" when that is the case; most other BrunX maps have no extra dependency. The bridge is free and needs to be started before the map that uses it — see What is BRNX Bridge and how do I install it? for the download link and setup.
Common Installation Problems
The map does not appear in game
Check the console first: a typo in the ensure line, a folder placed one level too deep, or a resource that failed to start will all show up there. If the resource started cleanly, restart the whole server and reconnect so clients stream the new data. Still nothing? Test the map alone — remove other maps temporarily and confirm the new MLO loads on its own. If it does, a conflicting resource is the cause.
Missing or flickering textures
Flickering walls and see-through surfaces almost always mean two resources are streaming the same building or the same texture dictionary. Look for an older version of the map, another creator's interior at the same address, or a vanilla interior that should have been disabled. Keep exactly one copy of each location on the server.
Falling through the floor or walking through walls
Collision problems mean the .ybn files are not loading or another map is overriding them. Confirm the stream folder is complete, that no other resource replaces the same collision, and that the map started after any resource it depends on. A full restart after the fix is required — collisions are streamed like any other map file.
Duplicated interior or IPL conflicts
Some buildings exist in GTA V as hidden Rockstar interiors that IPL loader scripts can enable. If a loader enables the vanilla interior while a custom MLO occupies the same building, you get doubled walls and furniture. Disable that entry in the IPL loader, or follow the map's readme when it ships its own toggle.
A dependency did not start
Errors mentioning a missing resource, export or event usually mean a dependency (a framework library, ox_lib, brnx_bridge) is not installed or starts too late. Install it, move its ensure line above the map, and restart.
Cache problems
When a map was updated or replaced and players still see the old version, clear the caches: delete the server's cache folder before starting it again, and have affected players clear their FiveM client cache (FiveM.app\data\cache). Updating the server artifacts at the same time rules out build-related crashes.
When everything works, explore the best FiveM MLO maps for RP servers to keep building out your world, or browse every interior in the FiveM MLOs catalog.